How to Perform a Glove Box Leak Test
Instructions for conducting a leak test:
- Initiating the Leak Test:
- Navigate to the menu page.
- Select the option to begin a leak test.
- Setting Pressure and Test Duration:
- Specify the desired pressure and test duration.
- Press the "Begin Purge" button to initiate the test.
- Starting the Pre-programmed Leak Test:
- The system will commence preparations for the leak test.
- Leak Test Process:
- The glove box will work to achieve an overpressure in the internal chamber during the leak test.
- Maintain this overpressure for the designated test duration.
- Countdown Display:
- A countdown will be initiated once the test has commenced.
- Leak Test Completion:
- Upon completion of the test, a displayed leak rate will be visible.
- Acceptable Leak Rate:
- A leak rate under 0.05 is considered acceptable to ensure the maintenance of an inert environment.
- Identifying Leaks:
- In the event of a detected leak:
- Set the glove box to an overpressure of 5mBar.
- Utilize leak spray or soapy water to identify the specific leak point.
- Observing Leak Indicators:
- As nitrogen escapes from the leak, the leak spray will form bubbles, indicating the location of the leak.
Note: Ensure to follow all safety protocols and guidelines during the leak test procedure.
Glove Box

Resources and Support
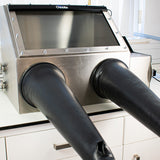 How to Choose a Laboratory Glove Box
What type of glove box should you buy? Consider these six factors before you pick.
Read more...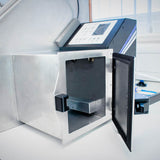 Glove Box Standard Operating Procedure
Working safely within an inert atmosphere glove box requires the care and co-operation of everyone who uses it. For this reason, we recommend outlining a standard operating procedure for your laboratory.
Read more...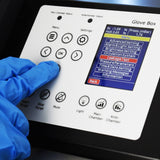 Glove Box Maintenance And Troubleshooting
The Ossila Glove Box uses automatic purging and programmable leak tests making it easy to maintain an inert environment. However, there are a number of steps that you as the glove box user can take to ensure that the inert atmosphere remains intact.
Read more...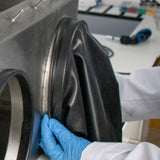 Glove Box Installation
The Ossila Glove Box is designed to be easy to install and maintain, and is suitable for most laboratories. Its small footprint and quick set up also means that it is relatively portable and can be conveniently transferred between labs as required.
Read more... Glove Box Leaks
Inert atmosphere glove boxes run at an overpressure, so if the leak is small, the glove box may still be able to maintain the integrity of the internal atmosphere. However, during this time, the glove box will use a much larger amount of inert gas than normal as the overpressure in the glove box will result in a flow of gas from the inside of the system to the outside.
Read more...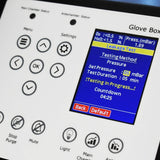 Glove Box Leak Tests
If you suspect a leak, the first thing you should do is perform a leak test. Leak tests raise the glove box to an extreme positive or negative pressure and then measure the rate of change of pressure over a period of time.
Read more... Glove Box Design
Scientific glove boxes create a sealed environment for work that involves hazardous materials or samples that react with air. The main chamber of such a glove box is generally filled with an inert gas, usually Nitrogen.
Read more... How to Replace Glove Box Gloves
Glove box gloves must be flexible and relatively thin to allow movement within the main chamber. This will be the most vulnerable exposure point to air and moisture as small holes can easily occur here.
Read more...