How to Replace Glove Box Gloves
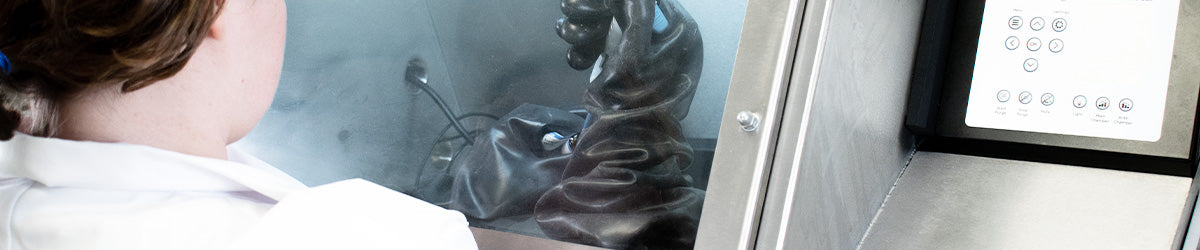
Gloves used in a glove box must be flexible and relatively thin to allow movement within the main chamber. However, they must also provide adequate ingression protection. Therefore, the glove box gloves will be the most vulnerable exposure point as small holes and tears can easily occur.
Steps to Replace Your Glove Box Gloves

If you find any tears, temporarily cover them with black tape.
To replace a glove without exposing the internal environment to air, follow these steps:
1. Push the old glove into the glove box. You need to stop the system purging to allow the gloves to be pushed in and internal pressure to lower.

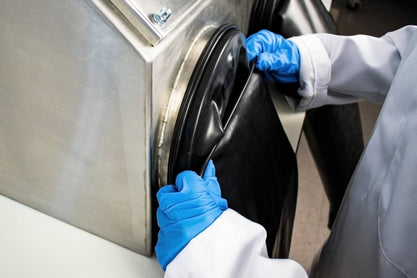
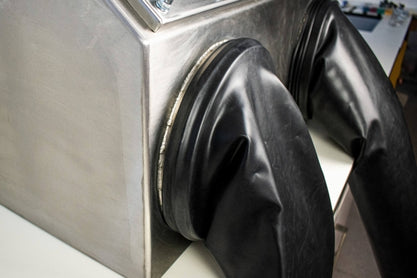
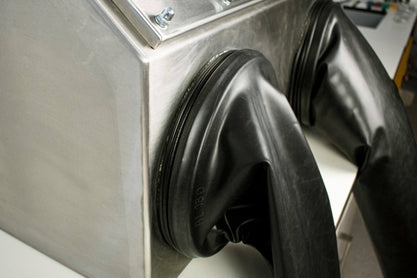
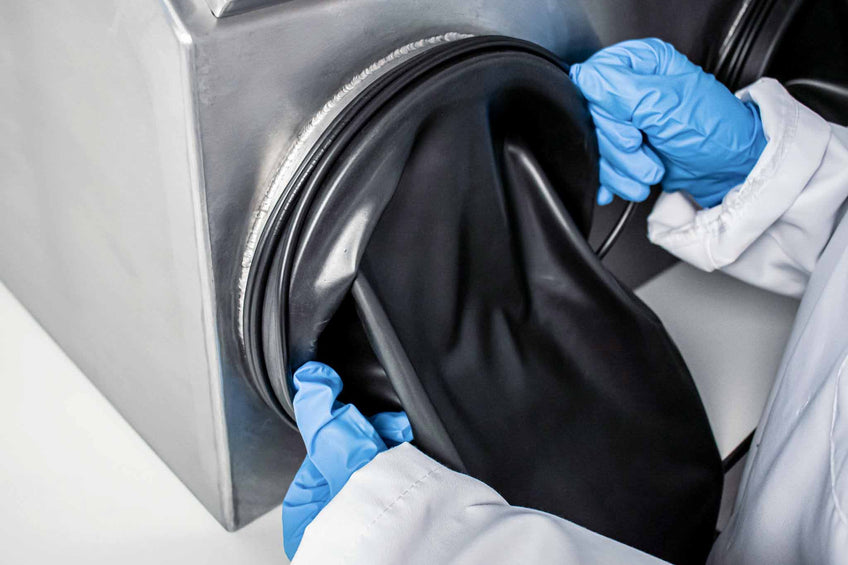
2. Once the glove is mostly in, remove one of the O-rings. Next, roll the glove back over the second O-ring as shown below. Make sure that the glove does not roll off the port completely.
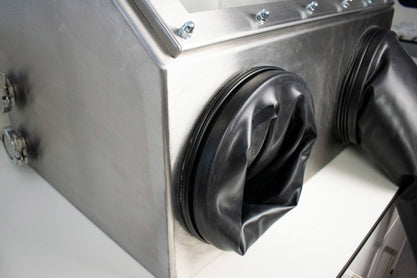
3. Compress the new glove as much as possible to ensure that minimal air is trapped in it and place it over the port and the old glove

4. Place the O-ring on top of the new glove to secure it in place.
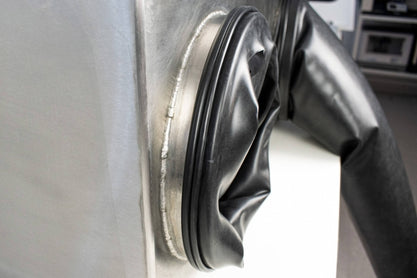
5. From inside the main chamber, carefully pull the old glove off the port into the main chamber. Use the hand outside of the glove box to ease this movement, ensuring that the new glove stays on the port. This is difficult so proceed carefully.
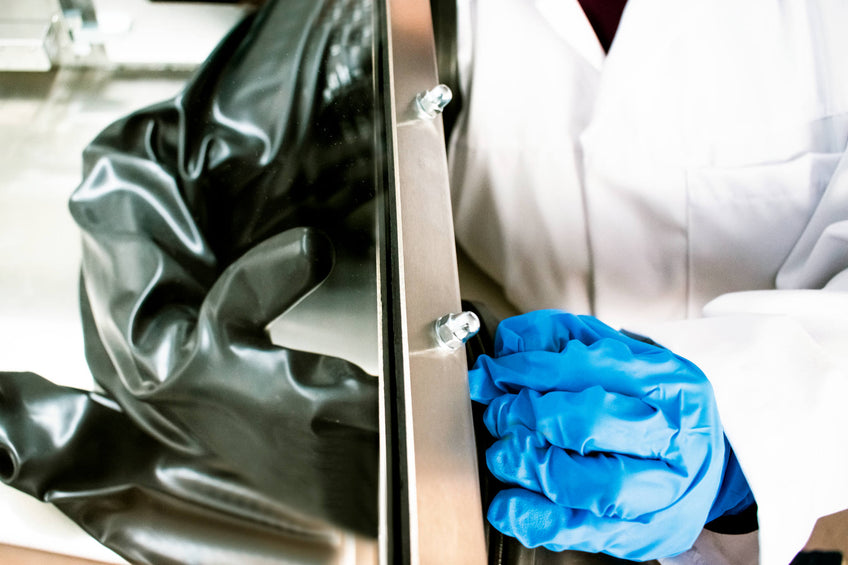
6. Once the old glove and O-ring are in the main chamber, these can be removed through the antechamber.

7. Place the final O-ring on the port, to secure the new glove.
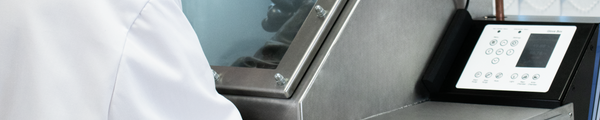
Glove Box