Assembling the Horizontal Laminar Flow Hood

Our laminar flow hood arrives flat-packed. You can assemble this as a vertical or a horizontal laminar flow hood depending on what better suits your research. You can also switch between configurations for different uses or if your needs change.
How to Assemble the Horizontal Laminar Flow Hood
Video Assembly Guide
Step-by-Step Assembly
Assembling the Filter Panel
The filter panel consists of:
- 1 x baffle — which houses the main electronics board and motor controlling air flow.
- 1 x plenum — a large hollow structure to accommodate HEPA filter and prefilters.
To construct the filter panel, you need to attach these pieces together correctly.
Align the threaded studs on the baffle with the holes on the plenum.
Fix together using the 10 M4 nuts provided. For a horizontal laminar flow hood, the motor should face forwards, towards the open side of the plenum as in the photo below.

Assembling the Frame
To assemble the main body of the laminar flow hood, you will need:
- 1 x steel tray
- 2 x clear acrylic side panels
- 1 x black top panel
- 14 x M4 screws
- 14 x M4 nuts
- 12 x M4 washers
- 2 x M4 locking washers
Loosely attach M4 screws, washers and bolts through the pilot holes in the steel tray. There should be three on each side.
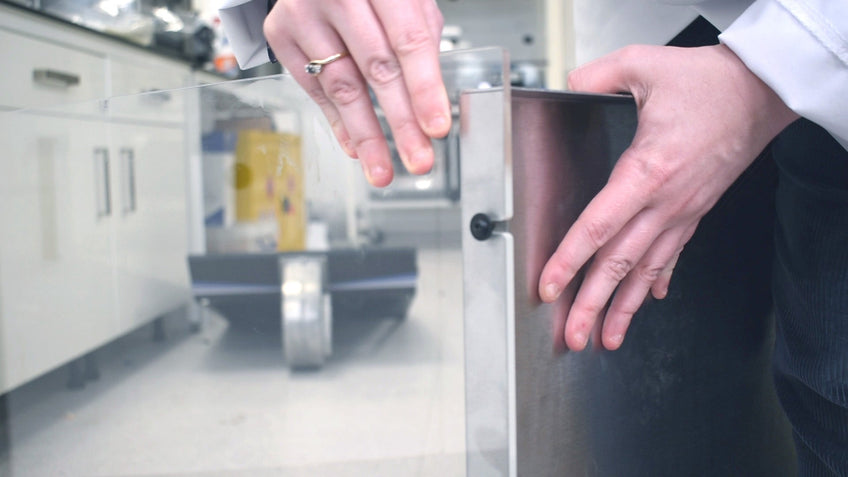
Align these screws with the slots in the acrylic side panels. Make sure the clear panels are correctly positioned, then secure in place.
The clear side panels should extend outwards from the back of the tray, allowing space to attach the back panel. The three smaller slots should face upwards to align with the filter panel at the top of the hood.

Next, loosely fit M4 screws, bolts, and washers through the holes in the black, top panel. Again, there are three on each side.
Line up these screws with the slots along the top of the acrylic side panels.
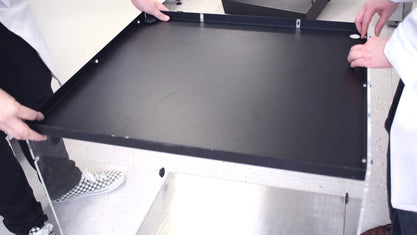
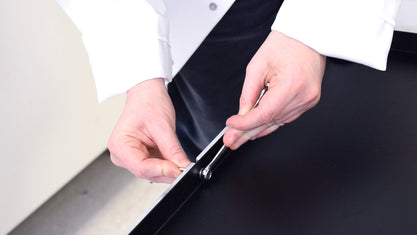
When the top panel is fitted, fix all the screws tightly to secure the frame.
Attaching the Filter Panel
Loosely fix M4 screws, nuts, and washers along the open side of the plenum. Push them out so that they are protruding.
Then, slot the filter panel onto the frame using the slots in the side panels. You will need two people to fit the filter panel into the frame.
Attach the filter panel to the structure by tightening the fasteners.
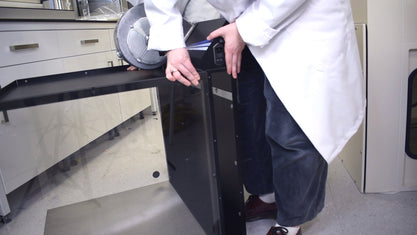
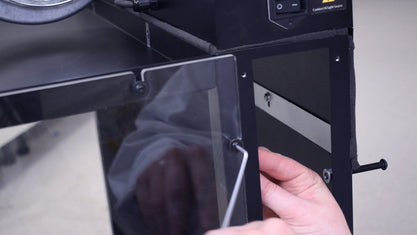
Once the filter panel has been attached to the side panels, secure the plenum to the top panel and floor tray. To do this, simply fasten with the M4 screws and nuts provided into the corresponding pilot holes.
Fitting the Display Screen
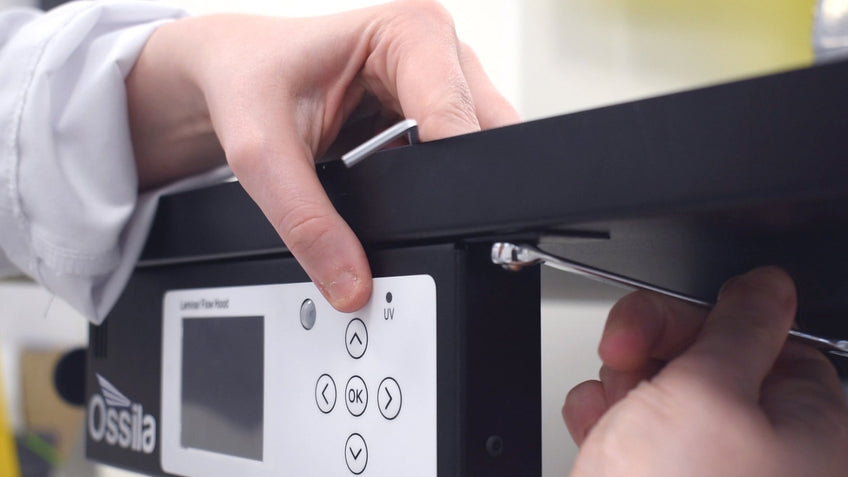
Once the main structure is assembled, fix the display panel to the front of the hood. Use the pilot holes in the top panel to position it.
Attach the display panel to the plenum using:
- 2 x M4 6 mm screws
- 2 x M4 domed nuts
Installing the HEPA Filter
Slot the HEPA filter into the plenum, ensuring the correct filter orientation. The arrow on the filter should point with the direction of air flow i.e. forwards.

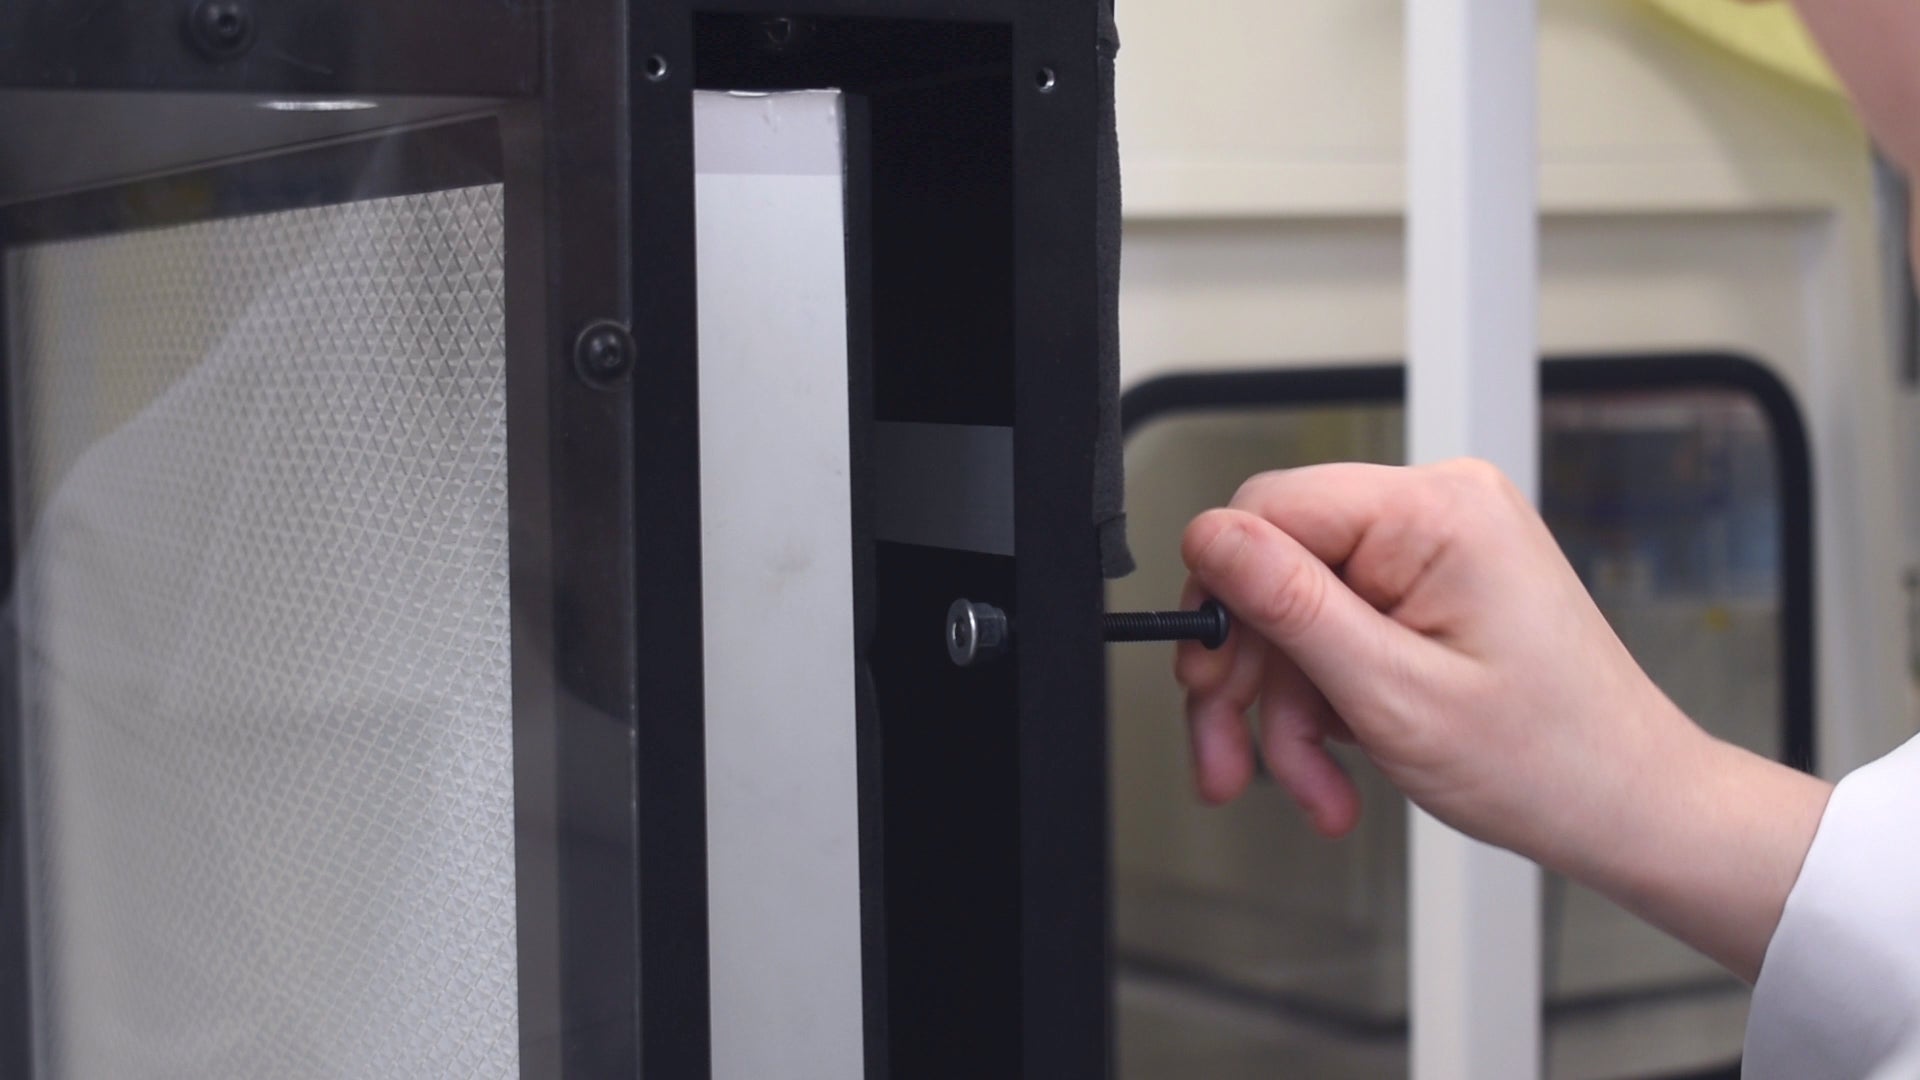
Align the HEPA filter so that the gasket lies directly below the clamp screws.
Once the HEPA filter is in place, slide a prefilter in-between the filter and the screw clamps.
When these are positioned correctly, tighten the clamp screws into the plenum until the filters are secure.
Finally, replace the filter access panel.
Starting the Laminar Flow Hood
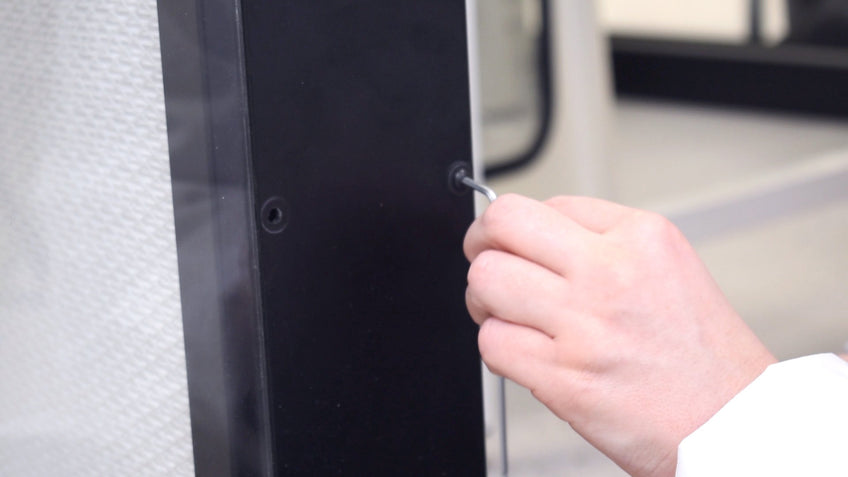
Use the supplied ethernet cable to connect the baffle to the display panel. This cable can be fed through one of the feedthrough holes in the back or side panels. You can use adhesive cable clips to keep the cable out of the way.
Now, all that is left to do is to plug in your horizontal laminar flow hood and switch it on.
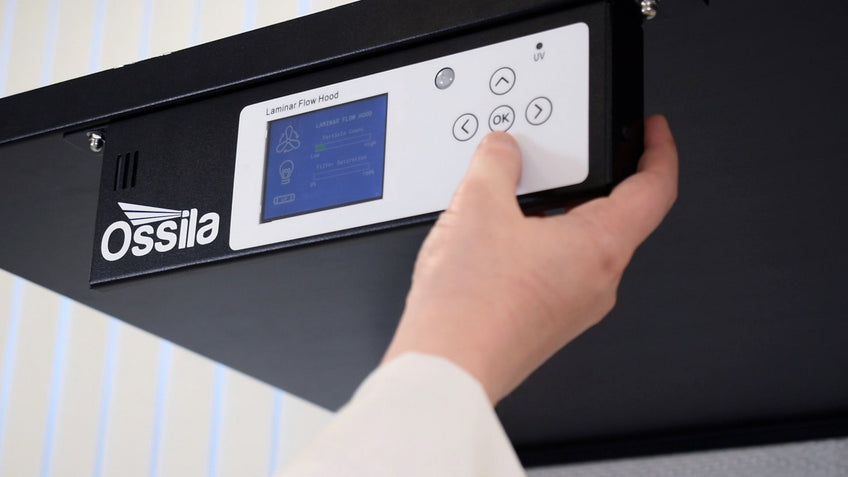
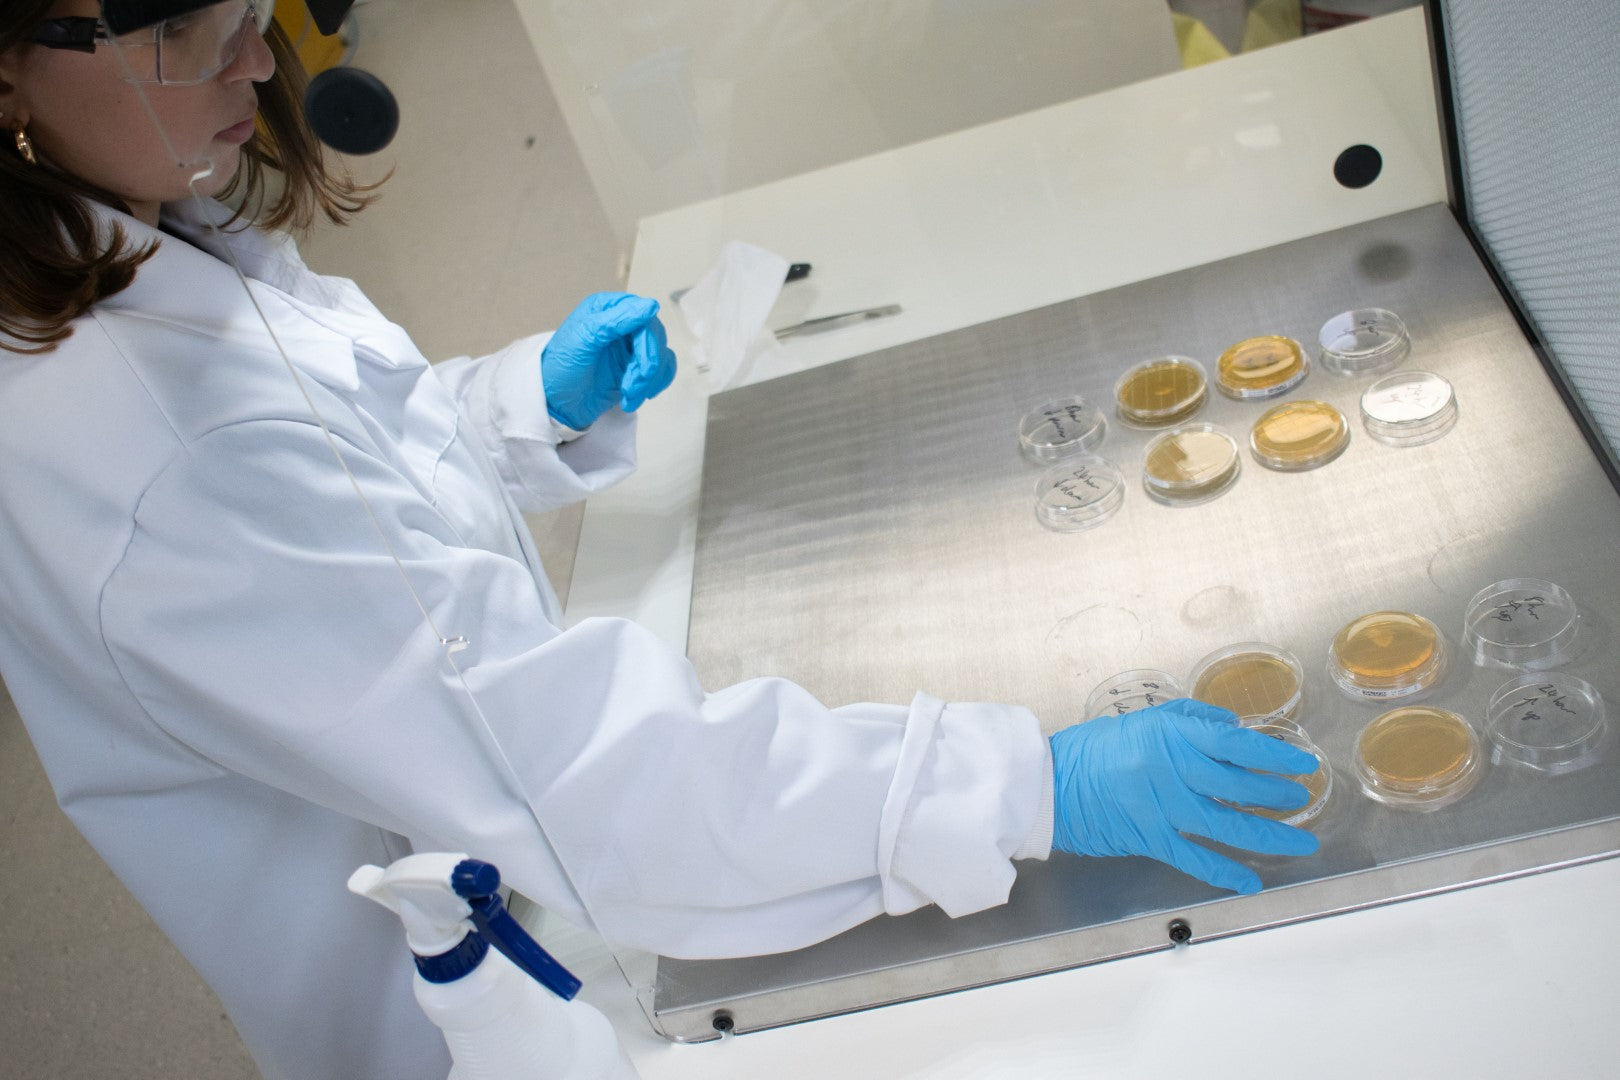
Before getting started with the laminar flow hood, it is important to:
- Properly clean your laminar flow hood.
- Activate the fan and UV light for a period of time, to prepare the environment for use.
- We recommend you leave the system for at least 20 minutes before first use.
Laminar Flow Hood

Learn More
 Getting Started with the Laminar Flow Hood
Ossila laminar flow hoods are designed for effortless setup, user-friendly operation, and efficient control. This short video guide shows you how to get started with your new equipment.
Read more... Laminar Flow Hood Cleaning Procedure
Regular and thorough cleaning of your laminar flow hood allows you to reliably conduct your experiments without risk of contamination.
Read more...