
How to Change the Handedness of your Micromanipulator
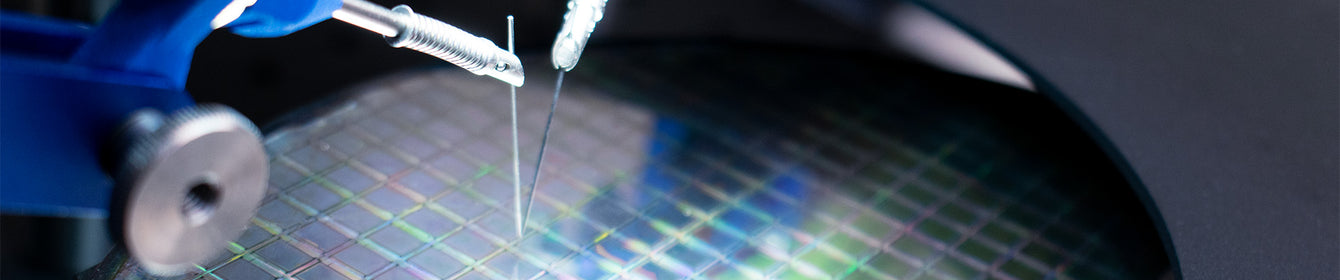
The Ossila Micromanipulator is available pre-configured for either left-handed or right-handed use (handedness). The X and Y axes are symmetrical, and are equally easy to operate with either hand, so the handedness of a micromanipulator refers only to the position of the Y-axis micrometer.
- Left-handed micromanipulators have the Y-axis micrometer positioned for optimal use with your left hand
- Right-handed micromanipulators have the Y-axis micrometer positioned for optimal use with your right hand
Many applications require two micromanipulators. When used as a pair, you would typically control one with each hand.
We have designed the Ossila Micromanipulator to be flexible in case your experimental requirements change and you need to change the handedness of your unit(s). Follow the steps below to perform this change yourself.
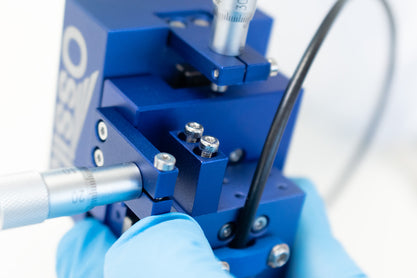
You will need a T6 Torx key, which is provided in the original packaging.

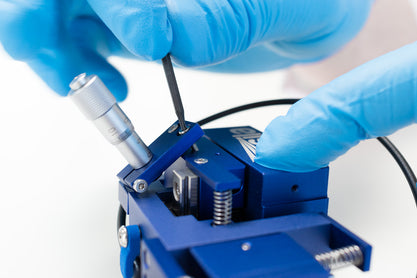
1. Remove the spring
Caution: The spring is under tension. Exercise caution to prevent sudden release and potential injury or loss of small parts.
- Gently apply pressure to the spring holder plate to minimize the risk of sudden release.
- Using the provided T6 Torx key, carefully remove the screw securing the Y-axis spring holder.
- Gently remove the spring holder, screw, and spring.
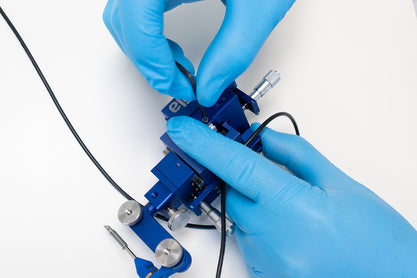
Caution: When the spring holder is detached, the Y-axis carriage may become loose on the linear rail. Important: If the carriage dislodges, carefully re-install it, ensuring all precision bearings remain in place.
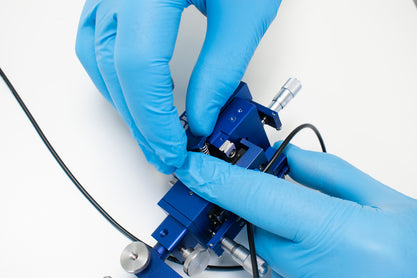
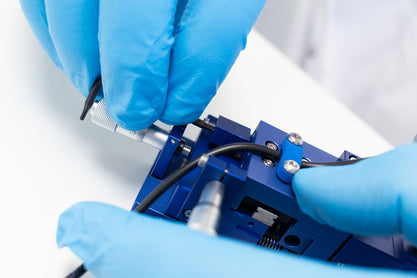
2. Install the spring on the opposite side
- On the opposite side of the micromanipulator, insert the spring into the 4.5mm hole on the Y-axis carriage.
- Place the spring holder pin on the spring and carefully compress, holding the entire assembly securely.
- Secure the spring holder with the previously removed screw.
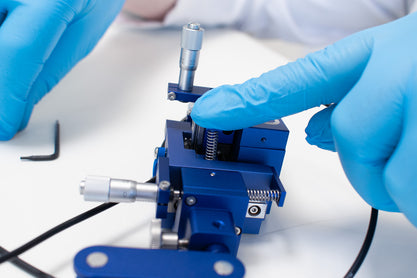

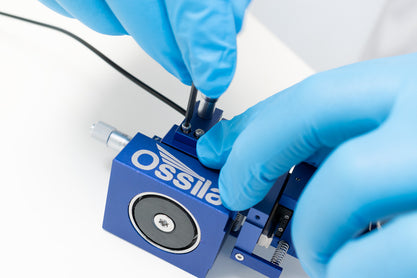
3. Micrometer mount
Caution: When the Y-axis micrometer mount is detached, the Y-axis carriage may become loose on the linear rail. Important: If the carriage dislodges, carefully re-install it, ensuring all precision bearings remain in place.
- Remove the screws securing the Y-axis micrometer mount to the side of the micromanipulator.
- Re-install the mount on the opposite side, ensuring the screws are tightened securely.
4. Push plate
- Remove the screws securing the Y-axis push plate.
- Re-install the push plate on the opposite side, ensuring the screws are tightened securely.
Micromanipulator

Learn More
 How to Position the Ossila Micromanipulator Probe
Learn how to accurately adjust your micromanipulator probe.
Read more... Connecting the Micromanipulator to the Source Measure Unit
This guide gives an overview of how to use the Ossila Micromanipulators with the Source Measure Unit, as well as some general tips and tricks for getting the most out of sensitive electrical probing measurements.
Read more...